
How to Prep a Basement Floor for Epoxy
Basement slabs are below grade, so they can carry moisture from the ground. Moisture is the main reason basement coatings fail, so the first step is a moisture test.
1. Test for moisture
Tape a 2 ft by 2 ft square of clear plastic to the floor on all four sides and leave it for 24 to 48 hours. If the concrete under it darkens or the plastic fogs, the slab is pushing moisture. Plan on P-409 Moisture Vapor Primer under your base coat.
2. Check the temperature
Most epoxies need the air and slab to be at least 50°F, and cure better when warmer. Check the product page for the exact range. In cold basements, run heat for a day before and during application.
3. Repair the slab
Fill cracks with R-818 Epoxy Crack Filler and rebuild pitted or chipped areas with R-343 Concrete Quick Fix. Avoid powdered cement patches under an epoxy floor.
4. Remove old coatings and profile the concrete
Paint, sealer and old coatings have to come off. Diamond grinding is the most reliable way to remove them and open the surface. Acid etching can work on bare, clean concrete, but it will not remove sealers or paint, and it adds more water to a slab you are trying to keep dry.
5. Clean and dry
Vacuum thoroughly after grinding. Any dust left behind ends up in the coating. Let the floor dry completely before priming.
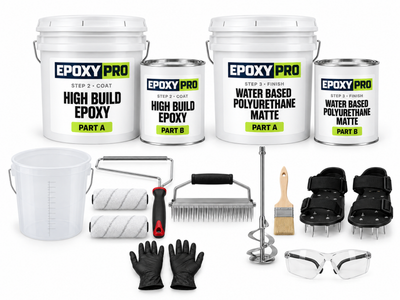
The Basement Pro System is built for below-grade slabs, with a low-sheen topcoat that suits living spaces.
Not sure what your slab needs? Call a coating expert at (877) 703-7699, or build your kit and we will size it for you.
 Why a Pro System Outlasts a Big-Box Garage Kit
 How to Prep a Garage Floor for Epoxy
 How Long Does 2-Part Epoxy Take to Dry?