
How to Make a Marble Effect Countertop With Epoxy
A marble effect countertop is a painted marble pattern sealed under a thick, clear pour of epoxy. It takes a few days because each step needs time to dry, but the work itself is manageable for a careful DIYer.
What you need
C-403WF Countertop Epoxy, a bonding primer, white, gray and black acrylic paint, a natural sea sponge, soft brushes, a small foam roller, plastic sheeting, painter's tape and a heat gun or torch.
Steps
- Round the edges. Epoxy pulls away from sharp edges. Ease the front edge with a router or sanding block so the pour flows over it.
- Protect the room. Cover cabinets and floors with plastic. Tape the underside of the front edge so drips can be peeled off later.
- Clean and repair. Degrease the surface, remove old latex caulk (epoxy will not bond to it), and fill seams with body filler. Sand smooth.
- Prime. Roll on a bonding primer, let it dry overnight, and lightly sand.
- Paint the marble. Lay down a white base. Draw thin, wandering gray veins with a small brush, then soften them with a damp sponge and a dry brush. Build up layers, adding a darker gray for deeper veins. More layers look more real. Let it dry completely.
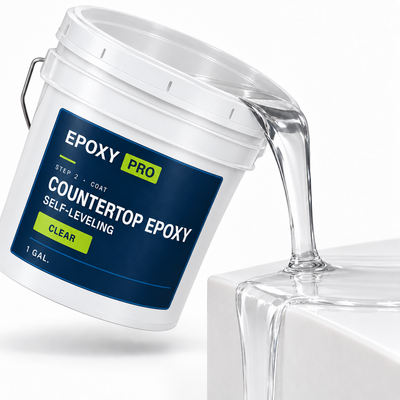
- Pour the epoxy. Mix exactly as directed. Pour onto the backsplash first, then the counter, and spread it evenly. Let it run over the edges.
- Pop bubbles. Pass a heat gun or torch quickly over the surface a few minutes after pouring. Keep moving so you do not scorch it.
- Let it cure. Keep dust off it. It will be hard to the touch in about a day. Follow the product page for full cure before regular use.
Tips
- Work in a room within the temperature range on the product page. Cold epoxy is thick and traps bubbles.
- Mix enough for the whole surface in one go. A second batch poured later can leave a visible line.
- Stick to the stated mix ratio. Adding extra hardener will ruin the pour.
Not sure what your slab needs? Call a coating expert at (877) 703-7699, or build your kit and we will size it for you.
 Why a Pro System Outlasts a Big-Box Garage Kit
 How to Prep a Garage Floor for Epoxy
 How Long Does 2-Part Epoxy Take to Dry?